370z - From nothing to something (Part 2) -
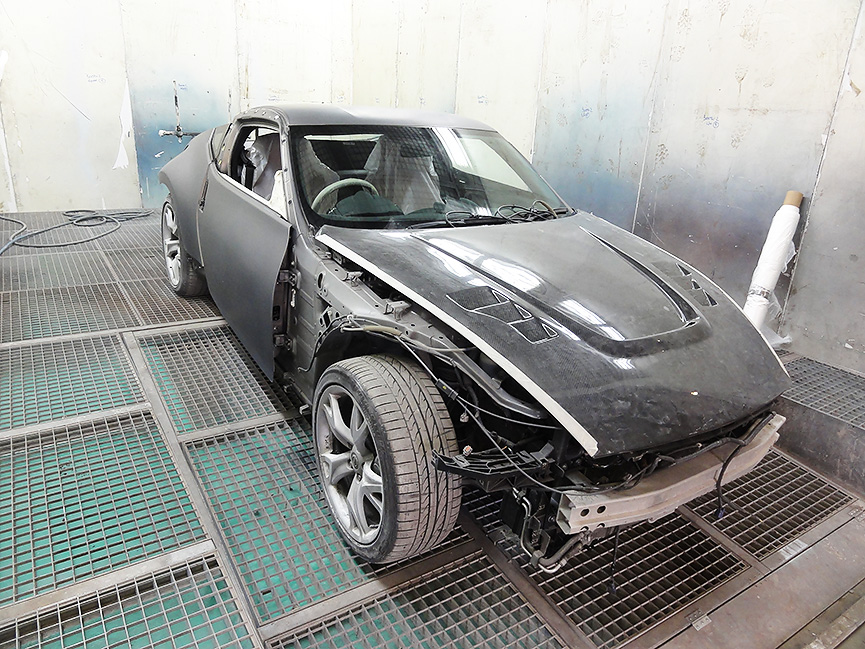
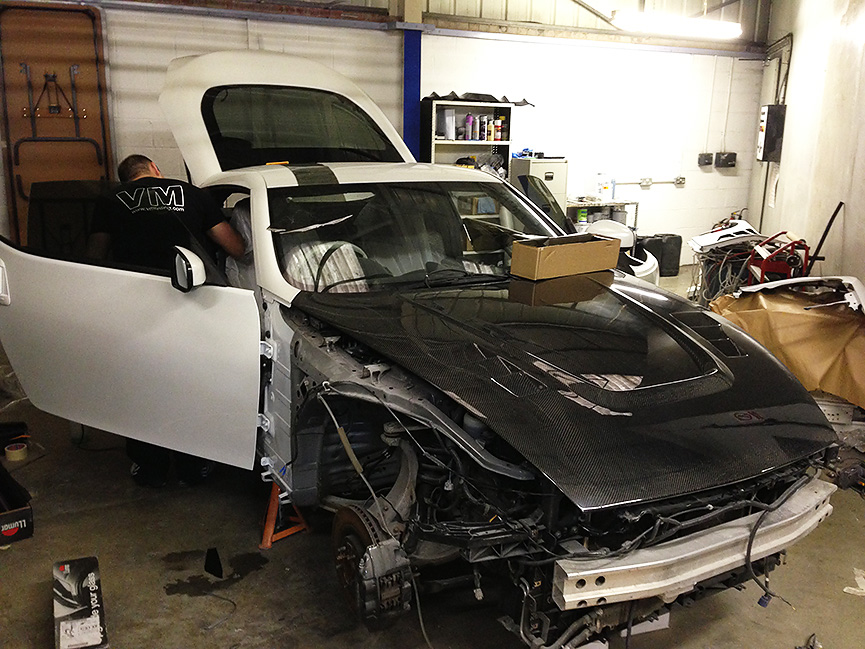
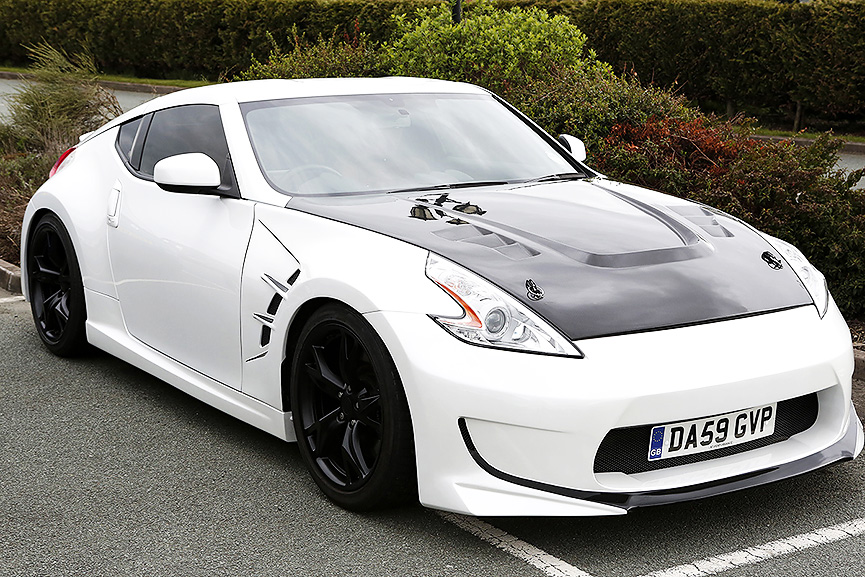
When we finished first part of our blog on restoration of this Nissan 370z, the car was just after primed stage and there was still lots of work needed doing. For example, the carbon fibre bonnet that we purchased from a foreign supplier did not fit. It didn’t have the right curvature, it was too flat and the catch couldn’t reach the lock. Being a tough material, carbon fibre is still quite flexible but it’s impossible to bend when it’s fixed onto a FRP frame. This posed a big problem for completing our project. Luckily, RT body shop guys are experienced in custom fabrications, so we knew the solution was coming along soon. The decision was made to introduce a number of regular cuts in the FRP frame of the bonnet, just where the curve was needed. These cuts were 2mm thick and about 2cm deep. This gave us room to achieve the needed curve. The distance was measured from corner to corner diagonally, pressure put on front of the bonnet, a metal reinforcement brace fixed underneath to keep the bend desired position. The cuts were fixed with metal panel and reinforced with multiple layers of fibreglass material. This was left to cure fully over 2 days. Thereafter, final test fittings and adjustments completed the modification of this carbon bonnet and it worked just like it should.
As with any aftermarket bonnets, it is a requirement to have bonnet catches fitted for safety reasons. Due to the extreme curve on the front part of a 370z bonnet, fitting flushed aero catches was impossible, so we went for classic bonnet pins, which allow fixations at more extreme angles. The only rule here is to measure everything ten times before drilling into the carbon fibre bonnet. Positioning along the front is also important as bottom part of bonnet pin must be fixed to a strong structural point.
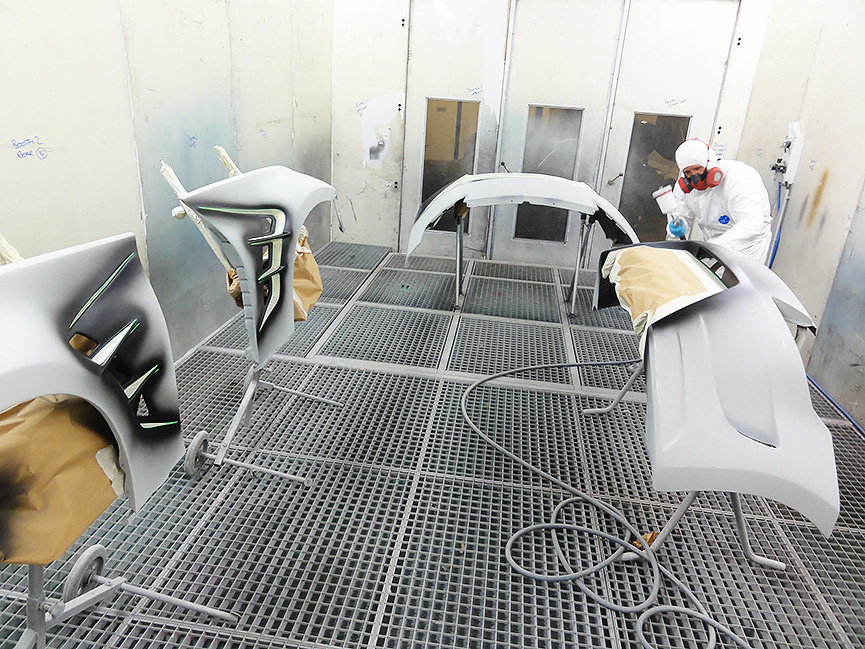
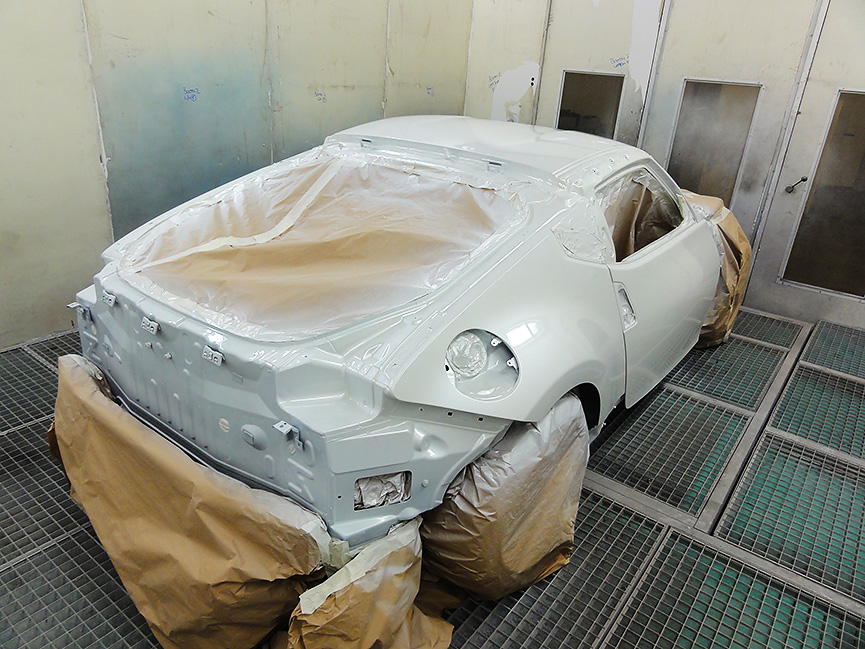
Whilst bonnet modifications were cured, the rest of the car went through final preparation stages. Primer was flatted down with 320 and 500 DA disks, then with soft pads and scotch paste. When the desired smoothness was achieved, the car went into the spraying oven for the masking up. Since a full re-spray was planned, there were too many parts to fit in a booth at once, so the body was sprayed in the first stage, body kit in the second. Masking up a car for a full re-spray is less difficult because most of trims were already removed.
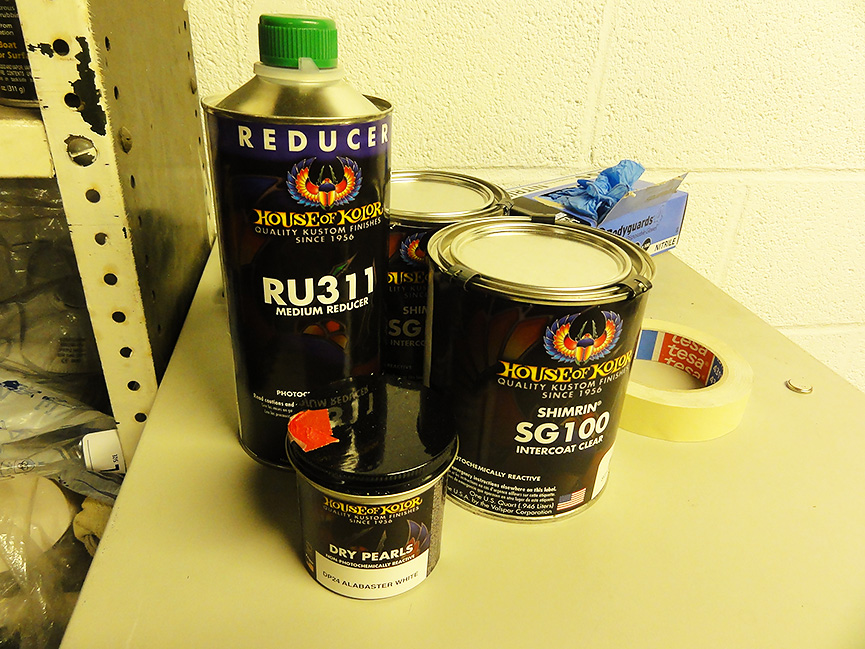
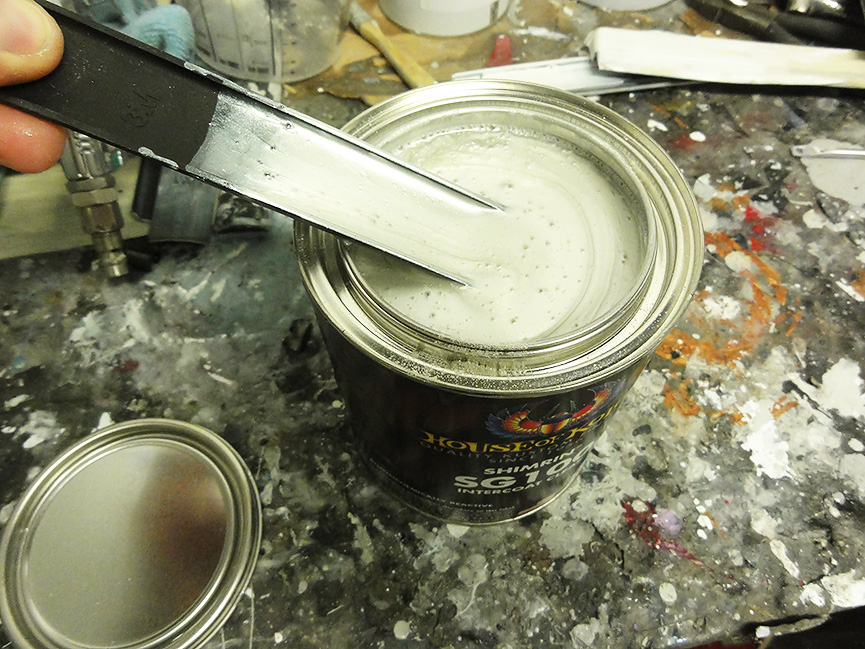
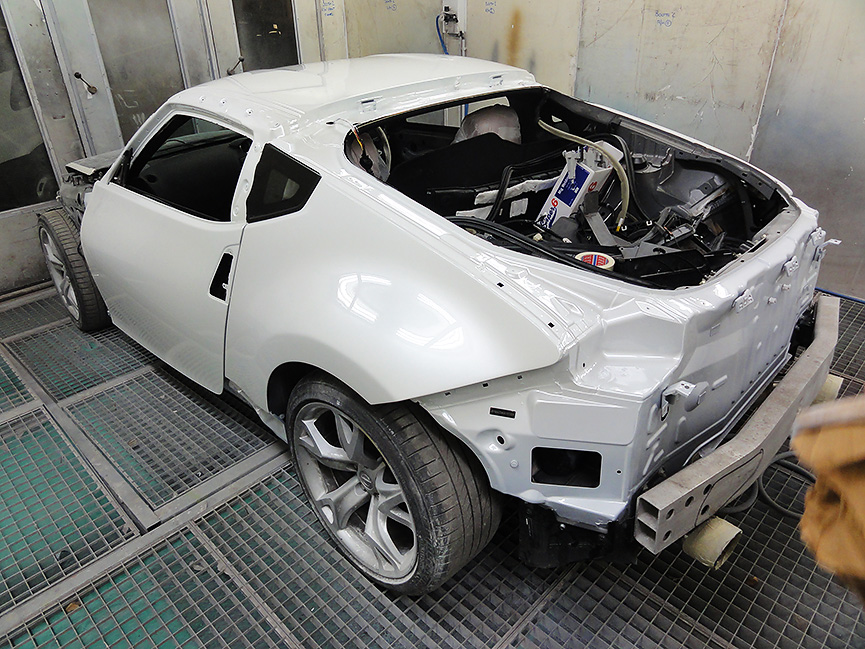
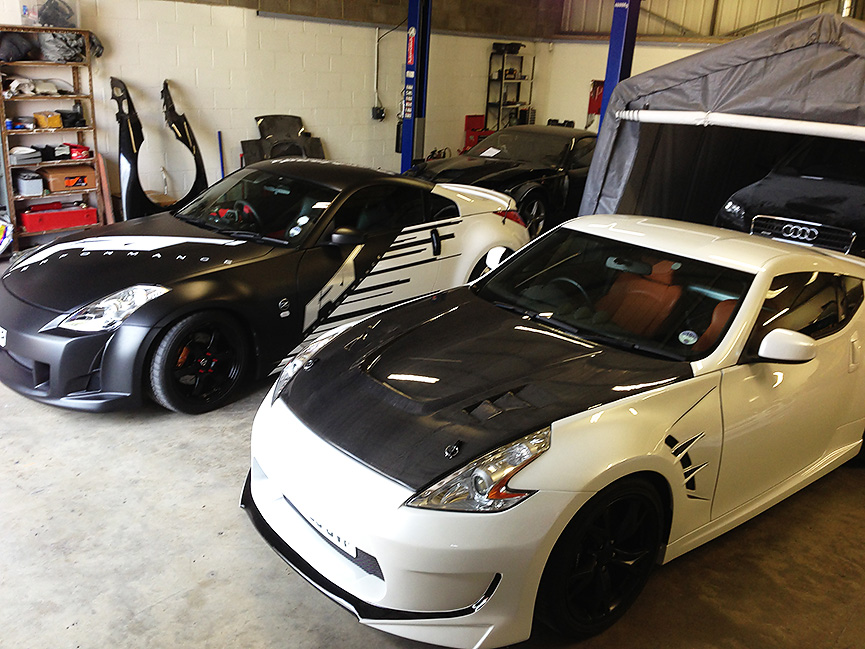
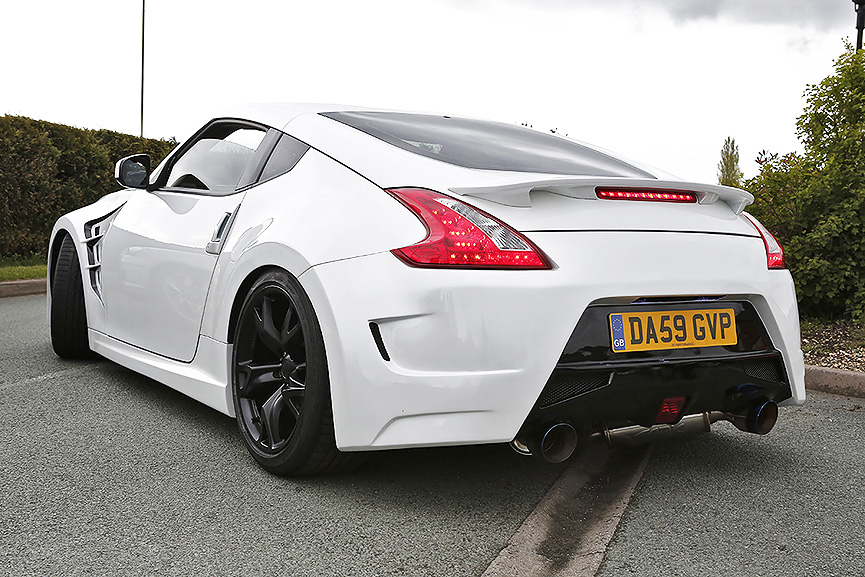
For the refinishing stage of this 370z we chose Alabaster White Dry Pearls paint by House of Kolor. This is a three stage application paint system. First stage is applying white basecoat onto vehicle panels, using as many coats as needed to achieve consistent coverage. Then dry pearls are mixed with reducer and intercoat lacquer, all in the right proportions. This mixture is then applied in two wet coats onto the vehicle. Final stage is clear coat. For this type of spray job we normally use scratch resistant, super-glossy Nexa lacquer. Car was then left for a 40 minute bake at 60 degrees.
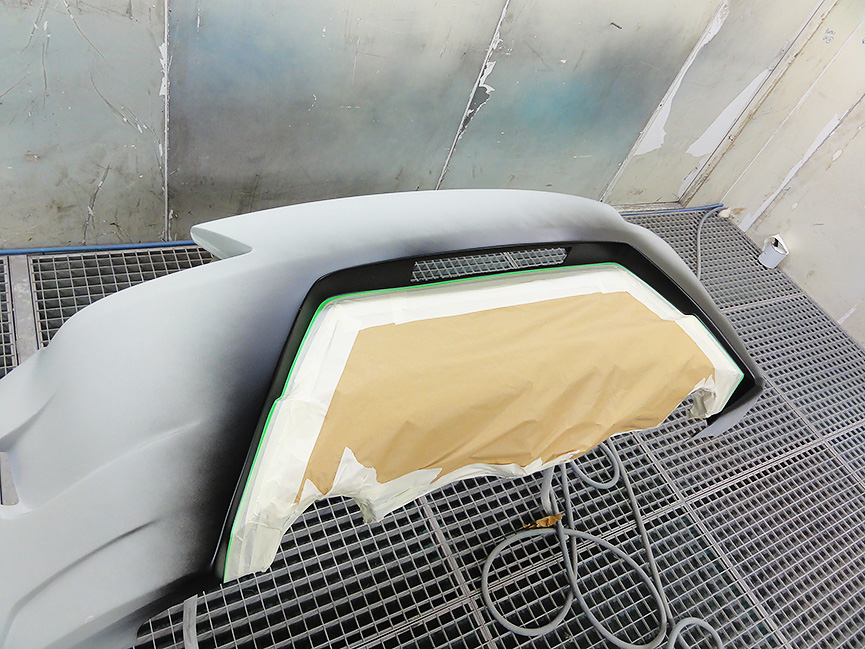
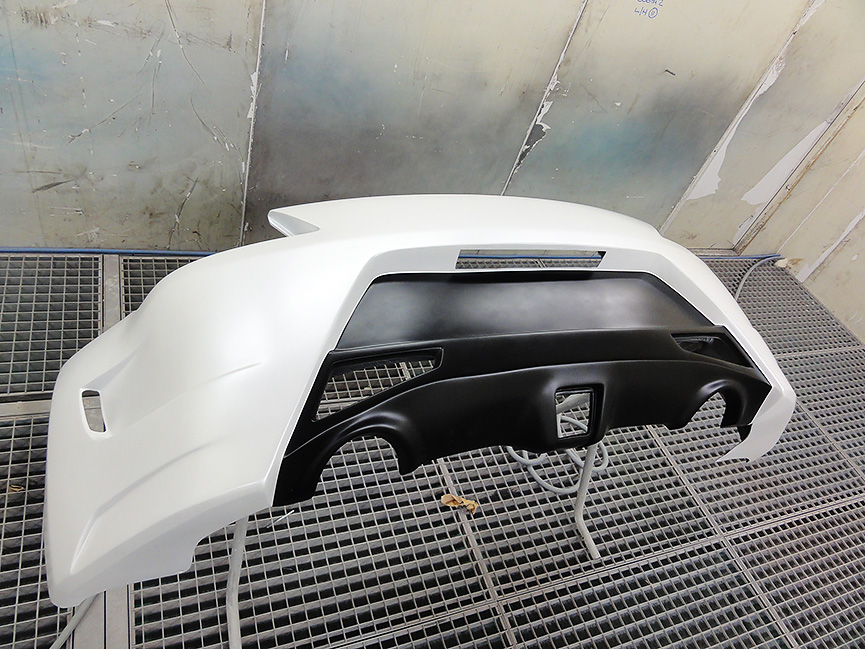
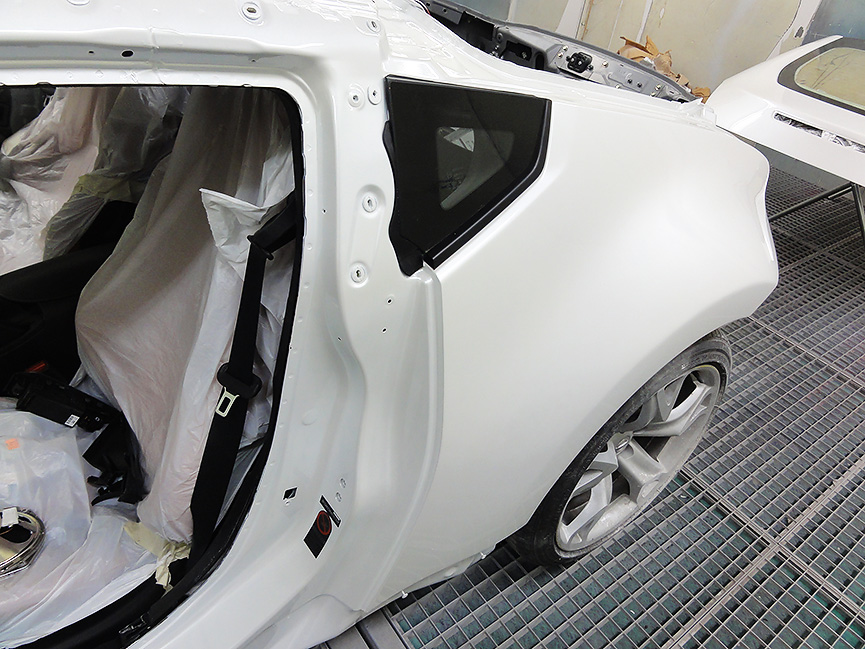
Once the car has baked and cooled off, masking was carefully removed and car was moved out of the spraying oven. It was now body kit’s turn. Since we were going with two-tone spray job on the body kit, those areas which had to be black were sprayed first. Once the black base coat was touch-dry, we used fine cut tape to divide the black areas and got them masked off. Then a three stage pearl white coating was repeated as with the main chassis, only the masking from black areas was removed before the clear coat application. Unfortunately, fibreglass panels are not suitable for high temperature baking, so they were left for 60 minutes at 30 degrees in the spray bake oven. Moreover, the cooling and natural curing time are increased to 24 hours after baking.
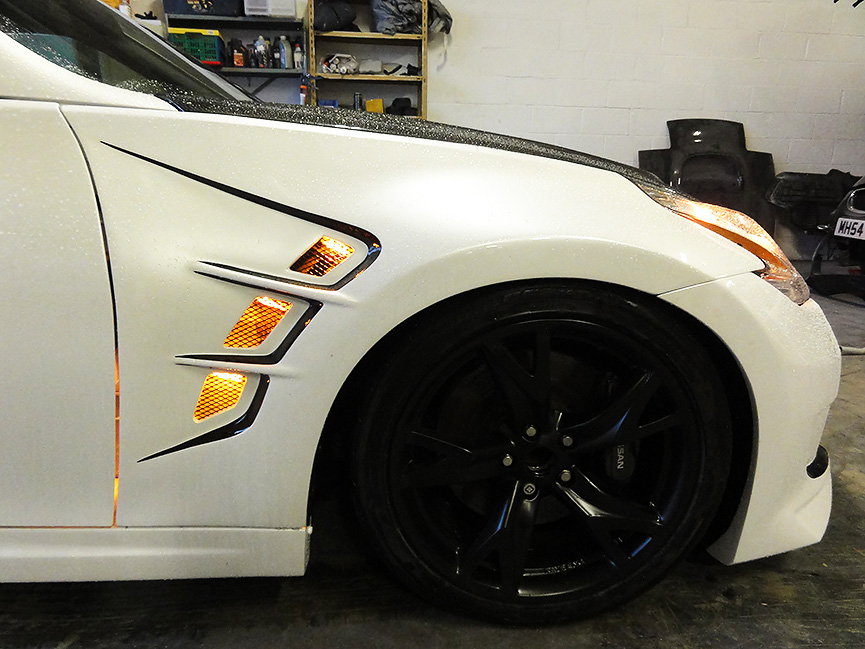
Next stage is assembly and final alignment of the kit and other body panels. Alongside this stage all wires, plugs, sensors were connected and checked to be in full working order. We came up with idea how to utilise three vents on each front fender. Signal from side indicator was extended and connected into three LED lights, which were positioned just on top of each vent. When indicator light came on, the amber light flashed from underneath the mesh. Cool!
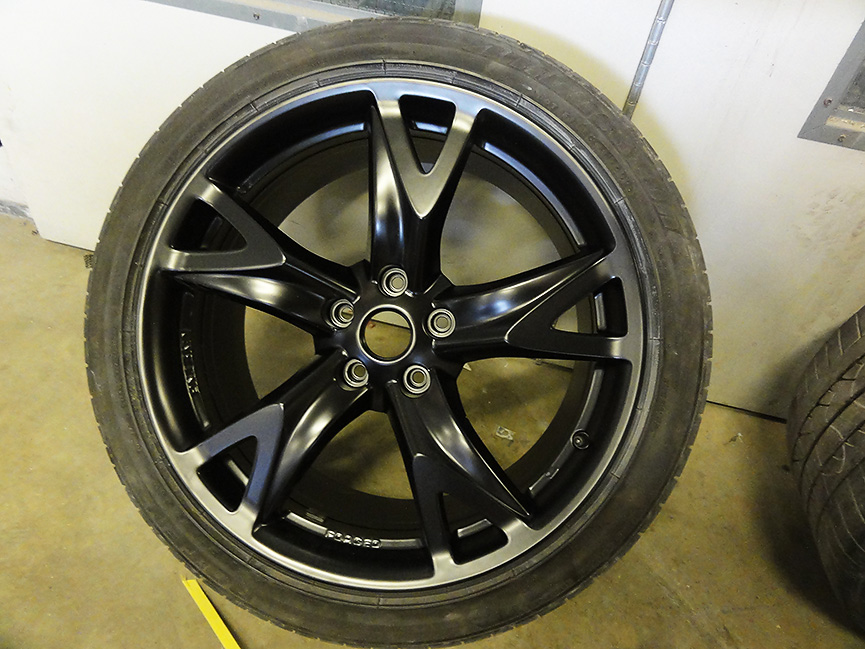
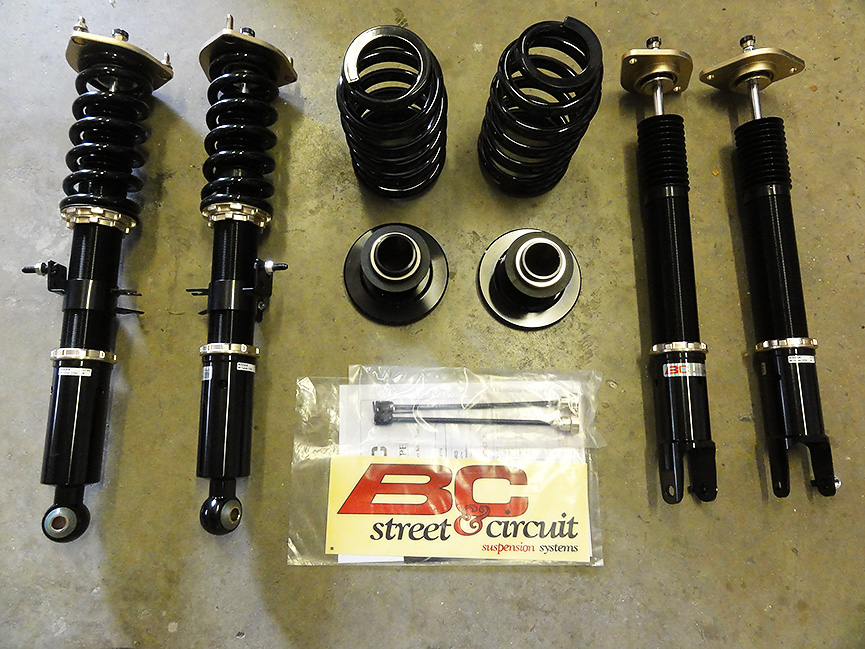
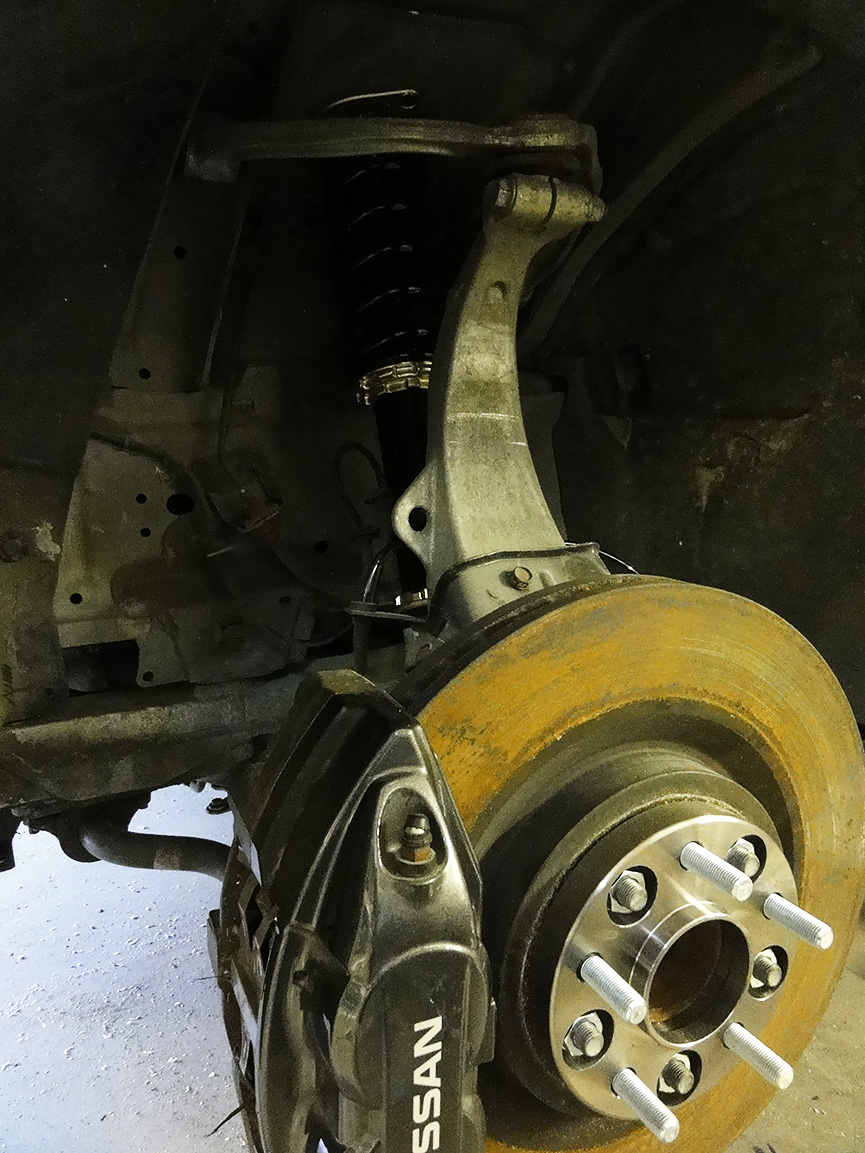
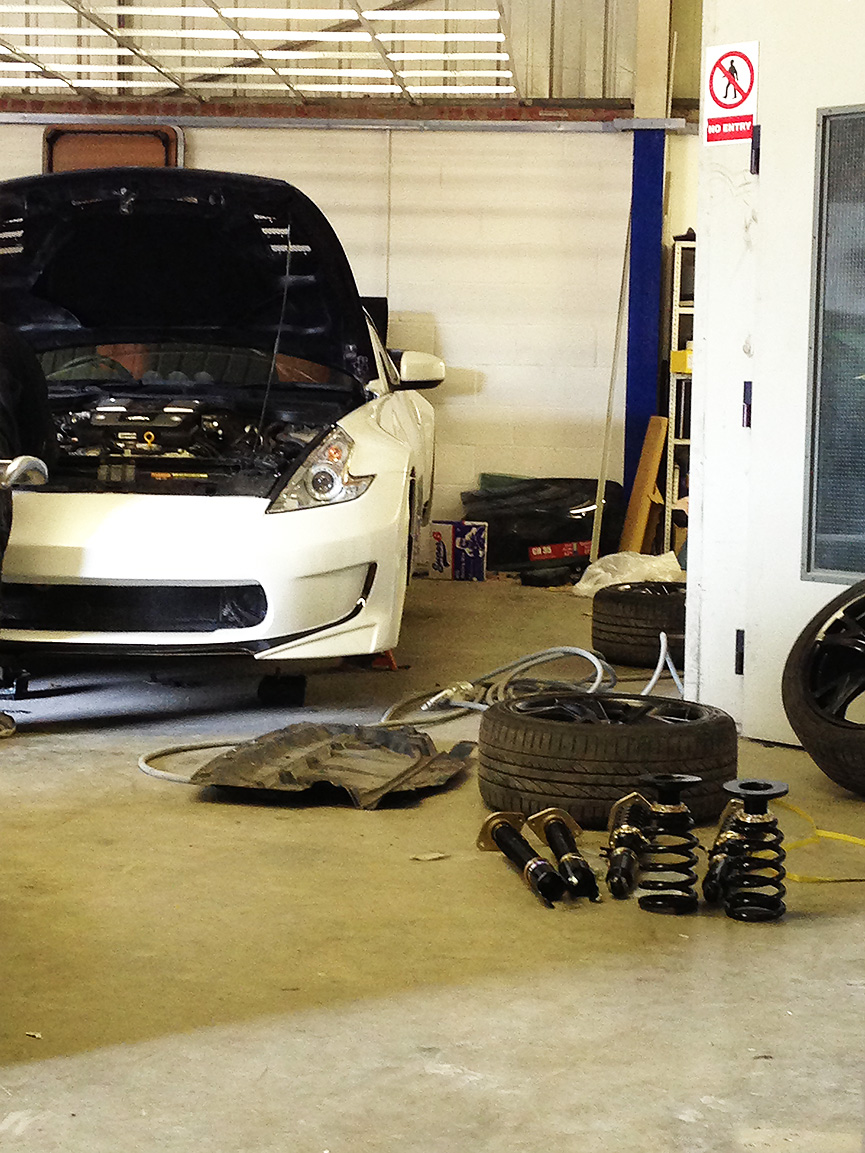
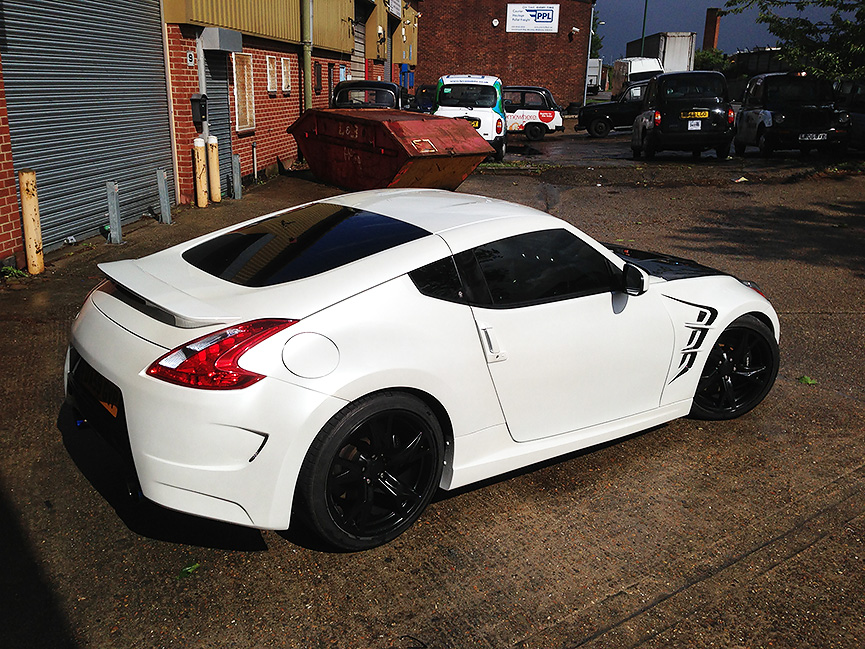
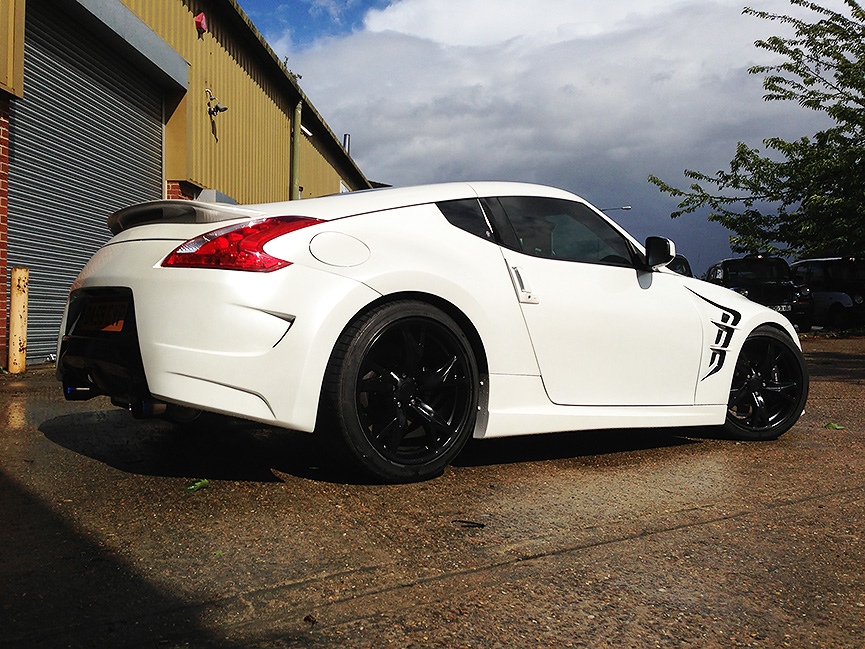
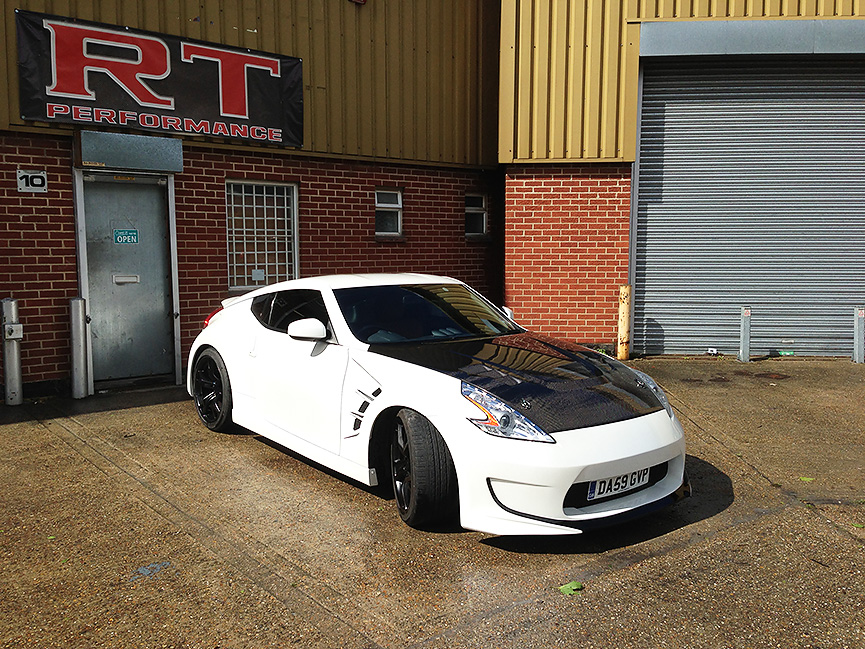
In a meantime, stock 19” alloys were being powder-coated in satin black finish. They would definitely break up the glossy feel of the car and make it looking more aggressive. Whilst the car was being raised on axle stands waiting for the wheels to be powder-coated, we took this opportunity to tint windows with 20% Llumar film and install BC racing coilovers. Window tints would complement our black and white theme throughout the car, whilst coilovers would allow lowering the car, thus improving its stance and highlighting the Amuse body kit even more. When alloy wheels were ready to be put on, they were spaced up with hub-centric spacers – 20mm on the front and 25mm on the back. Nearly there!
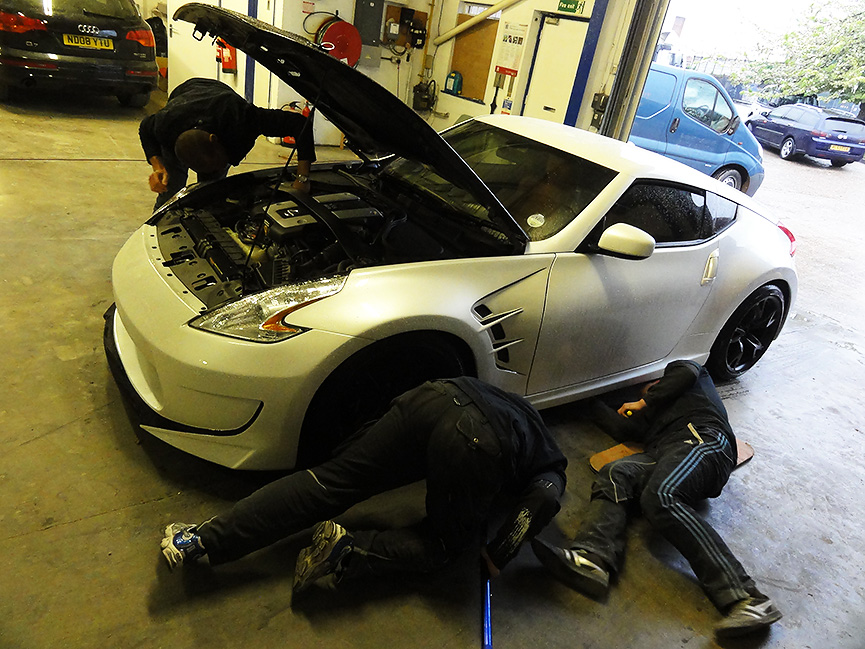
During the first test drive, car felt extremely raw and unturned. Re-adjusting BC coilovers three times and doing four-wheel alignment twice, corrected the ride quality and the car felt incredible on straight and in the corners. A sound of ARK exhaust that we installed earlier delivered an aggressive roar, especially intriguing on 4,000 RPM and above. Final clean and polish made this 370z a one-of-a-kind machine on UK roads. A proud finale to this 370z project for RT Performance team.